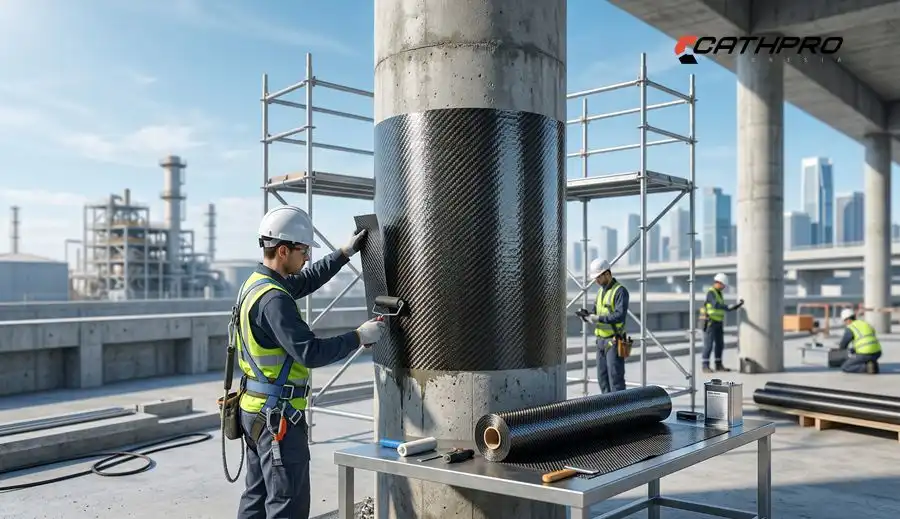
Have you ever discovered rust eating away at your valuable piping system? That sinking feeling when you realize corrosion has been silently destroying your infrastructure is all too familiar for facility managers and engineers. The good news is that anode installation on pipe systems provides a proven solution to stop corrosion in its tracks before it causes expensive damage.
A sacrificial anode is essentially a “bodyguard” for your pipe—a piece of metal that corrodes instead of your valuable infrastructure. This comprehensive guide will walk you through everything you need to know about proper anode installation techniques, helping you protect your investment and extend your pipe’s service life significantly.
What is a Sacrificial Anode and Why You Need One for Your Pipe
Think of a sacrificial anode as a lightning rod for corrosion. Just as a lightning rod attracts electrical strikes to protect a building, an anode attracts corrosive forces to protect your pipe. The science behind this protection lies in cathodic protection principles—by creating a controlled electrochemical reaction, the anode becomes the “victim” instead of your pipe.
When you install an anode on your pipe, you’re creating what engineers call a galvanic couple. The anode material has a more negative electrical potential than your pipe steel, which means electrons flow from the anode to the pipe. This electron flow prevents the electrochemical reactions that cause your pipe to corrode.
Anodes effectively prevent several types of corrosion that commonly attack buried or submerged pipes. These include uniform corrosion (general surface deterioration), pitting corrosion (localized deep holes), and galvanic corrosion (caused by contact between dissimilar metals). Without proper protection, these corrosion types can cause pipe failure within just a few years.
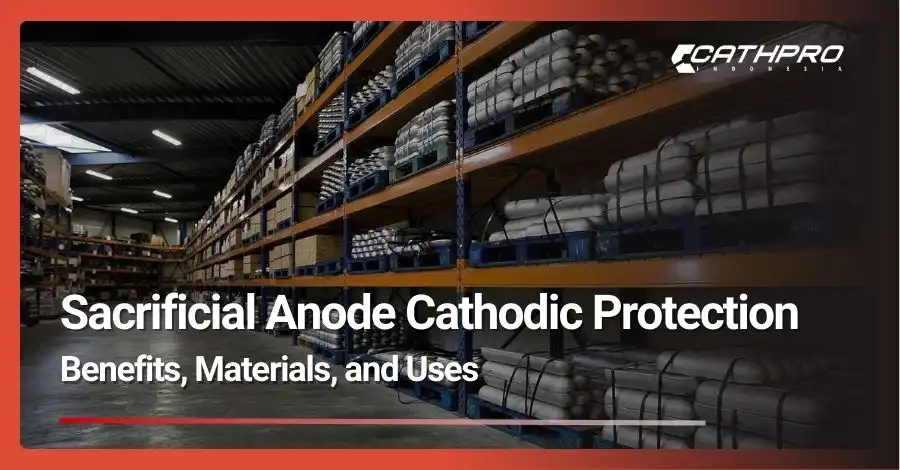
Choosing the Right Anode for the Job
Selecting the appropriate anode material is crucial for successful anode installation on pipe systems. The three primary anode materials each excel in different environments and applications.
Magnesium Anodes
Magnesium anodes offer the highest driving voltage, making them ideal for high-resistivity soils and buried pipelines. They provide excellent current output but have a relatively short lifespan of 10-15 years. These anodes work best in soil applications where aggressive protection is needed.
The high electrochemical potential of magnesium (-1.75V vs copper-copper sulfate) ensures strong current output even in challenging soil conditions. However, their rapid consumption rate requires more frequent replacement compared to other anode materials.
Zinc Anodes
Zinc anodes are the go-to choice for marine environments and underground applications in moderate soil conditions. They provide steady current output over 15-20 years and offer excellent performance in saltwater or brackish water applications. Their moderate driving voltage makes them suitable for most standard installations.
With an electrochemical potential of -1.10V versus copper-copper sulfate, zinc anodes deliver consistent protection without the aggressive consumption characteristics of magnesium. This balance makes them ideal for long-term installations where reliability is paramount.
Aluminum Anodes
Aluminum anodes deliver the longest service life, often exceeding 20 years in favorable conditions. They’re particularly effective in seawater applications and provide consistent protection with minimal maintenance requirements. However, they’re not suitable for high-chloride freshwater environments where aluminum corrosion can accelerate unexpectedly.
The electrochemical potential of aluminum (-1.05V vs copper-copper sulfate) provides adequate driving voltage for most marine applications while offering superior longevity compared to other anode materials.
Application Guidelines
The key is matching your anode selection to your specific environment—soil resistivity, water chemistry, and pipe material all influence the optimal choice. Underground pipelines in high-resistivity soils typically require magnesium anodes, while marine installations benefit from zinc or aluminum options depending on water chemistry and service life requirements.
Essential Tools and Materials
Proper anode installation on pipe requires specific tools and materials to ensure a reliable, long-lasting connection. Having everything ready before you start prevents delays and ensures professional results.
Required materials include: sacrificial anodes (properly sized for your application), insulated copper connecting cables (typically 12-14 AWG), thermite welding compound or mechanical connectors, protective coating materials, and backfill material if working with buried pipes. Essential tools comprise: wire brushes or grinders for surface preparation, welding equipment (for permanent connections), pipe clamps or mechanical connectors, multimeter for testing connections, and safety equipment including gloves, eye protection, and respiratory protection when grinding.
Don’t forget about documentation materials—you’ll want to photograph each installation step and record anode specifications, installation dates, and initial electrical readings for future reference.
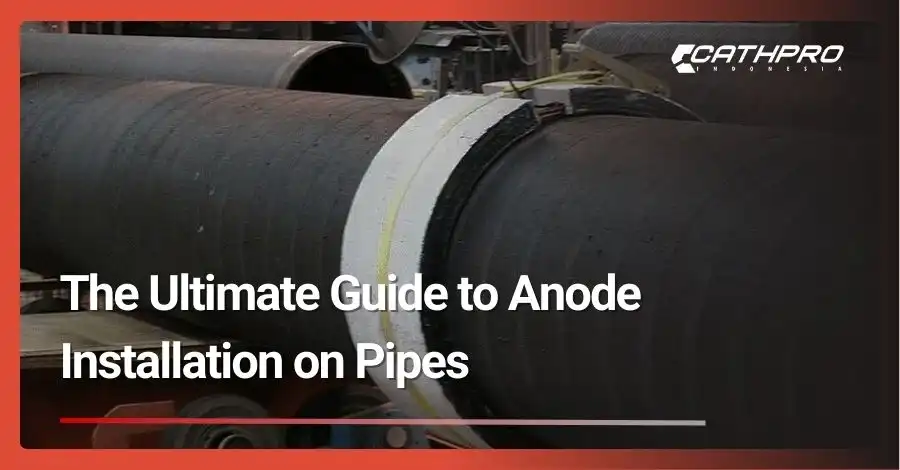
Step-by-Step Guide to Anode Installation on a Pipe
Step 1: Safety First
Before beginning any anode installation on pipe work, ensure all systems are safely shut down. Turn off electrical power to any nearby equipment, depressurize pipe systems if applicable, and verify the absence of hazardous gases. Always wear appropriate personal protective equipment including safety glasses, work gloves, and respiratory protection when grinding or welding.
Step 2: Prepare the Pipe Surface
Surface preparation is absolutely critical for reliable anode connections. Remove all coating, paint, rust, and debris from the connection area using wire brushes or grinding wheels. The cleaned area should extend at least 6 inches around the planned connection point. The bare metal should be bright and clean—any contamination will compromise your connection.
Step 3: Anode Placement
Strategic anode placement maximizes protection effectiveness. Position anodes to provide uniform current distribution along the pipe length, typically spacing them 50-100 feet apart for buried applications. Consider soil conditions, pipe coating quality, and accessibility for future maintenance when selecting exact locations.
Step 4: Making the Connection
Create a permanent electrical connection between the anode and pipe using either thermite welding or high-quality mechanical connectors. Thermite welding provides the most reliable long-term connection but requires proper training and safety precautions. Mechanical connectors offer easier installation but require periodic inspection to ensure continued reliability.
Step 5: Testing the Connection
Use a digital multimeter to verify electrical continuity between the anode and pipe. The resistance should be essentially zero (less than 0.1 ohms) for a proper connection. Also measure the initial pipe-to-soil potential to establish baseline protection levels for future monitoring.
Step 6: Backfilling and Re-coating
Protect your connection from environmental damage by applying appropriate coatings and backfilling with suitable materials. Use low-resistivity backfill around anodes to enhance current output, and ensure proper coating coverage over connection areas to prevent localized corrosion.
Common Mistakes to Avoid
Poor surface preparation ranks as the number one cause of connection failures in anode installation on pipe projects. Many installers underestimate the cleaning required—any oil, paint, or oxidation residue will create a barrier that prevents reliable electrical contact.
Incorrect anode spacing is another frequent error that reduces protection effectiveness. Anodes placed too far apart create unprotected areas, while anodes too close together waste current and reduce system efficiency. Follow engineering calculations or industry standards for your specific application.
Inadequate electrical testing during installation often leads to future surprises. Always verify connections with proper instrumentation—visual inspection alone cannot confirm electrical continuity. Document all measurements for future reference and troubleshooting.
Maintenance and Anode Lifespan
Recognizing when anodes need replacement is crucial for maintaining continuous protection. Most anodes are considered depleted when they’ve consumed approximately 85% of their original mass. Visual inspection during routine surveys can identify severely corroded anodes that require immediate replacement.
Establish a regular inspection schedule based on your anode type and environmental conditions. Magnesium anodes typically require evaluation every 2-3 years, while zinc and aluminum anodes can often go 3-5 years between detailed inspections. Monitor pipe-to-soil potentials annually to verify continued protection effectiveness.
Signs that indicate immediate attention is needed include pipe-to-soil potentials becoming less negative than -850 mV (versus copper-copper sulfate reference), visible anode deterioration exceeding 50% of original dimensions, or loose electrical connections discovered during testing.
Conclusion: Protecting Your Investment Through Proper Installation
Successful anode installation on pipe systems requires careful planning, quality materials, and attention to detail throughout the installation process. When properly executed, these systems provide decades of reliable corrosion protection, extending pipe service life and preventing costly failures.
The investment in quality anode installation pays dividends through reduced maintenance costs, extended equipment life, and improved system reliability. Remember that proper installation is just the beginning—ongoing monitoring and maintenance ensure your protection system continues delivering value throughout its design life.
Ready to protect your pipeline infrastructure? Contact qualified corrosion protection professionals who can design and install the optimal anode system for your specific application. Professional installation ensures compliance with industry standards and maximizes your protection investment.